
As mentioned yesterday, I’m upgrading (?) my main server storage to NVMe. The adapters finally arrived today and I set up the thing right away.
Base system is an Intel Xeon E3-1230v2 CPU on an Intel S1200BTL motherboard.
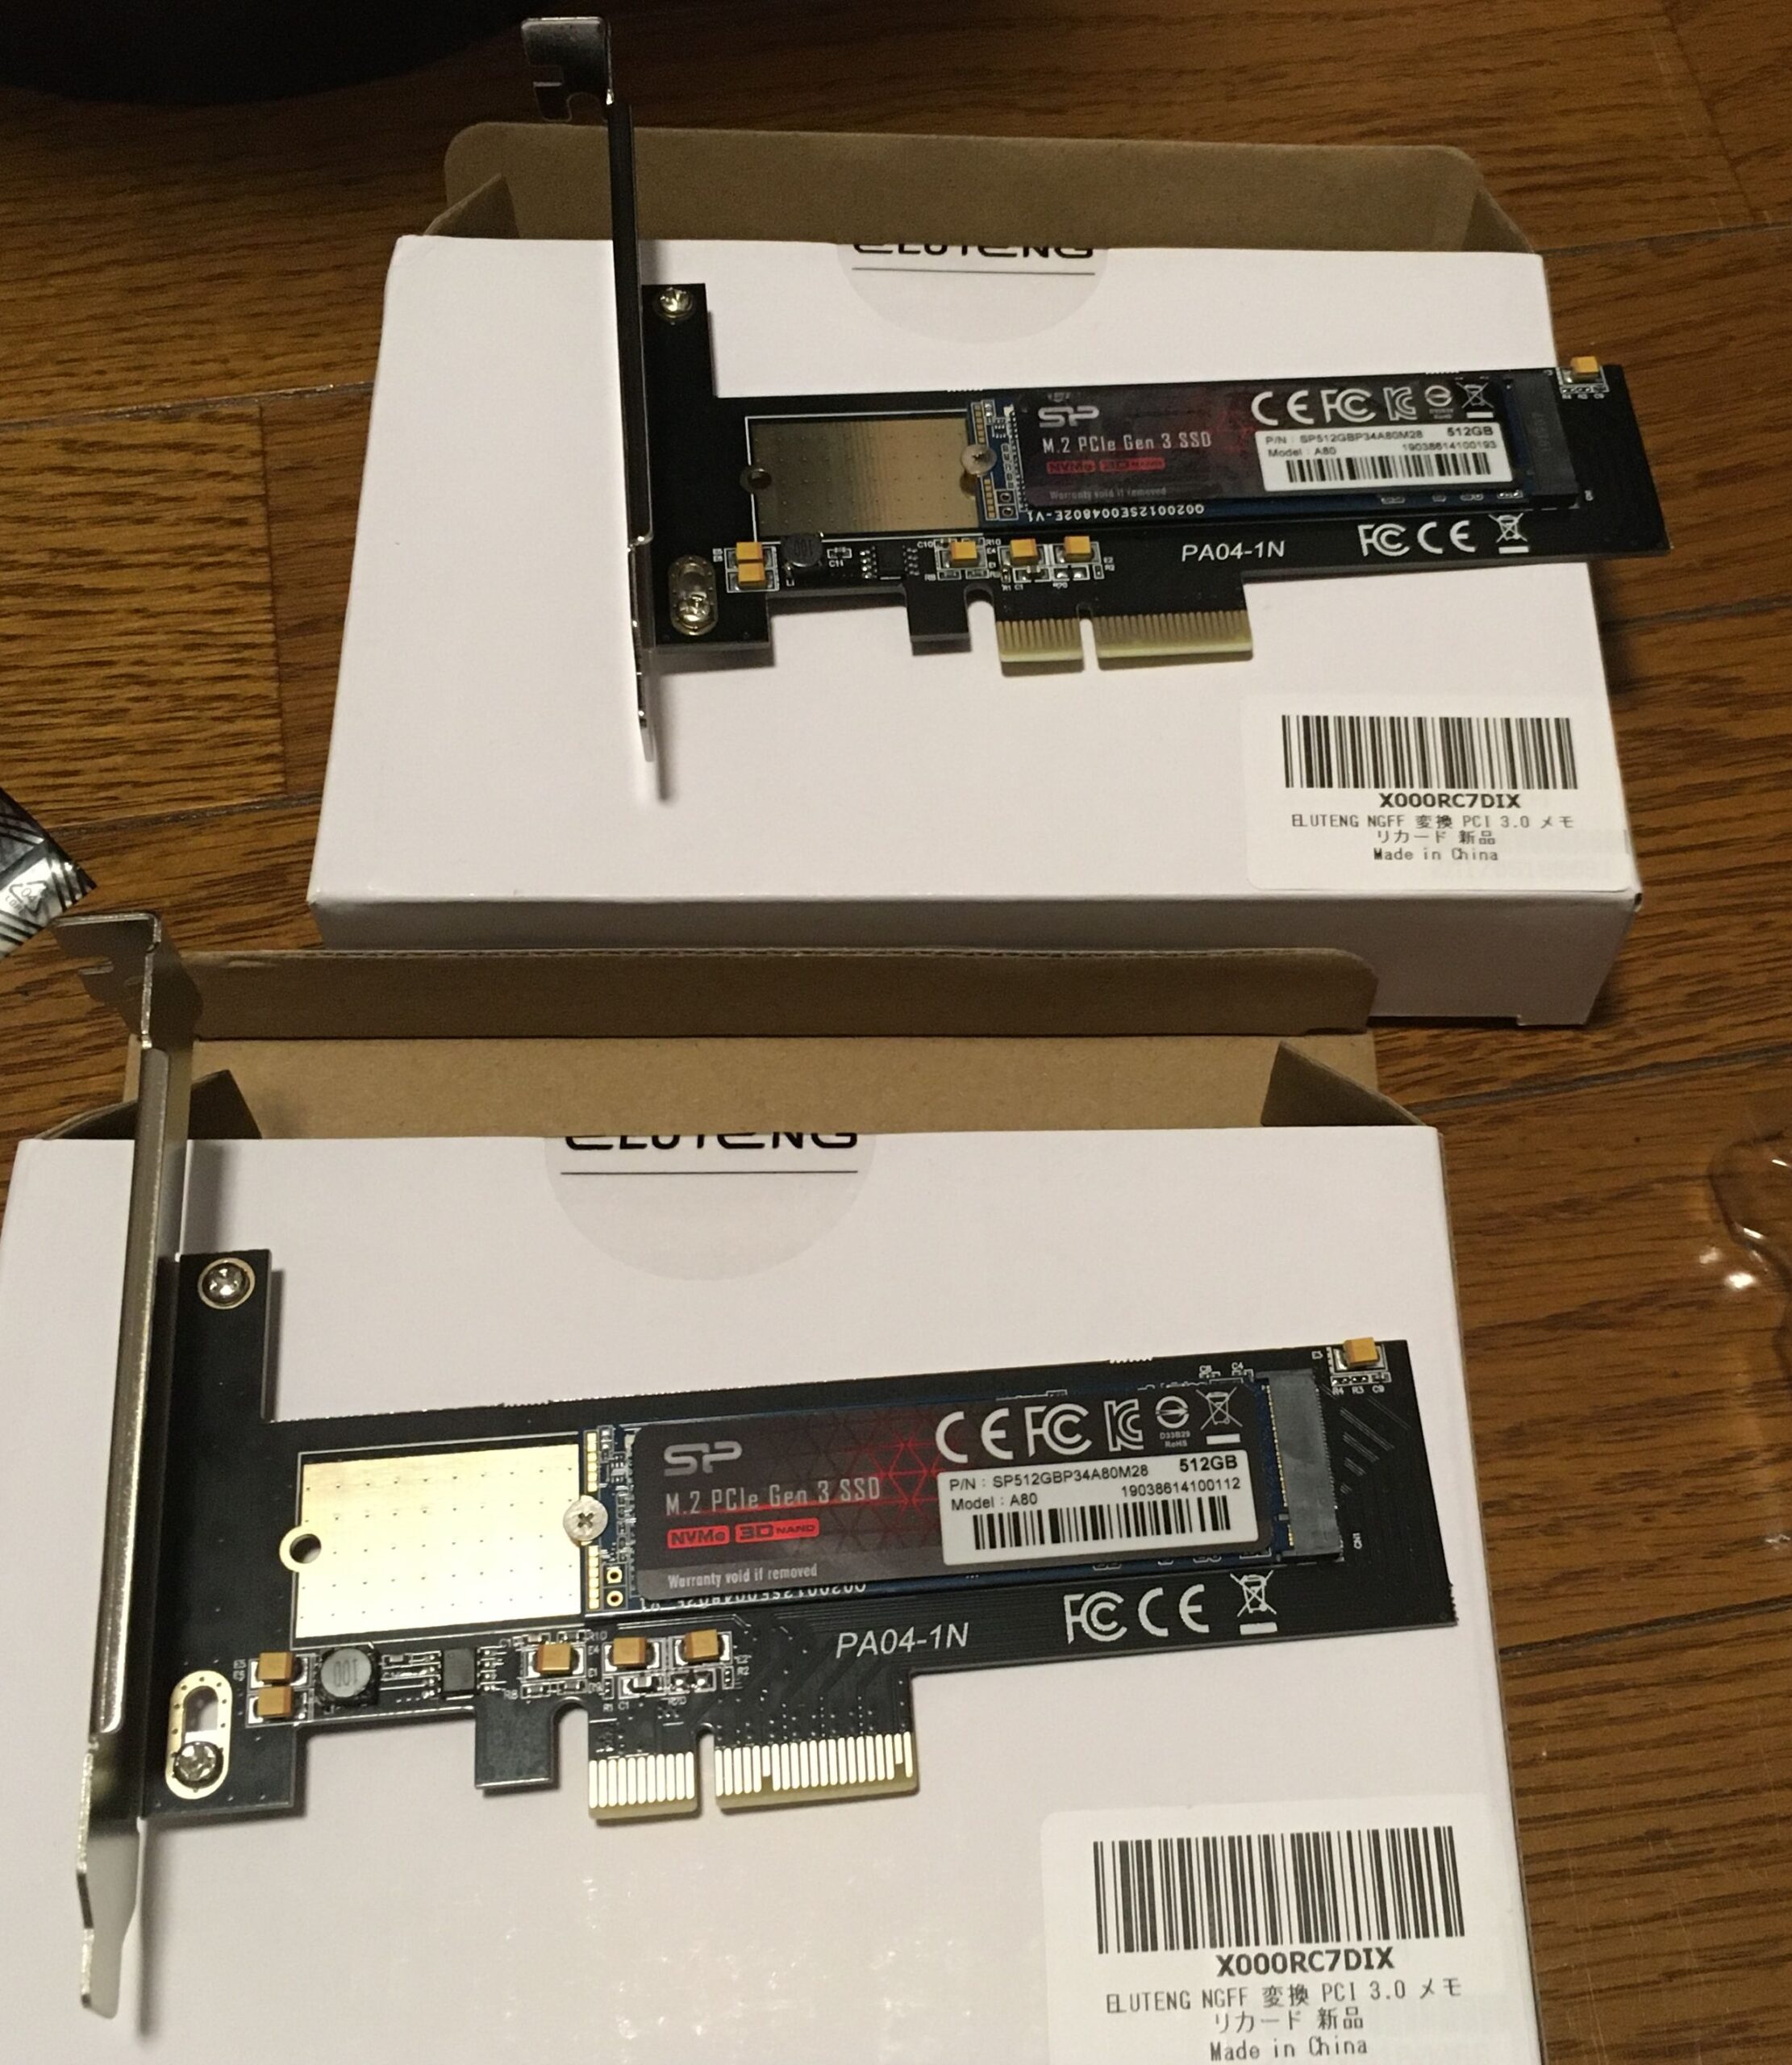
Installing the drives to the adapters was easy. The adapters even included screwdriver.
Then come installing them to the server, one of them didn’t quite go in cleanly. That was pretty annoying and after fiddling around a bit it turned out the slot wasn’t quite aligned correctly and so a bit of bending was needed.
Meanwhile, once I turn the system back on, the network adapter was gone. Not only that, one of the drives wasn’t detected either.
After some more swapping slots, none of the cards were detected. That was fun. At least the last slot seem to detect everything so I tested all four cards (SSD x2, SAS, ethernet) on that slot and they were all detected and operating correctly.
I think I spent at least an hour figuring this out? In the end, it seems like a full power cycle by disconnecting PSU was the most reliable way to get everything detected correctly.
As everything was finally detected correctly, I mirrored the system drive from old SSDs to the NVMe’s. It didn’t take too long.
With the new drives filled and set up as system drives, I then proceeded figuring out how to boot the thing. As expected, the bios didn’t detect any of the NVMe, much less have option for booting from them. I plugged in the Clover UEFI and booted from it and then I got… nothing.
Many hours later, I learned I needed more than just the basic boot loader for that specific system. It was fine for the desktop system I tested previous day but apparently it wasn’t good enough for booting from this specific system. I copied over a bunch of extra modules which then finally allowed me to see the Clover boot screen as expected.
Here are the list of modules I copied over:
- AudioDxe.efi
- CsmVideoDxe.efi
- DataHubDxe.efi
- EmuVariableUefi.efi
- FSInject.efi
- Fat.efi
- NvmExpressDxe.efi
- PartitionDxe.efi
- SMCHelper.efi
- UsbKbDxe.efi
- UsbMouseDxe.efi
Some of them are probably not needed but it took so long already so it’ll be homework for another time.
Unfortunately Clover doesn’t natively support FreeBSD so additional steps were needed. I suspect if it’s just for Windows or Linux, it would work right away? I don’t have either installed so I don’t know 🤷♀️
After trolled by commented key looking like normal key, I ended up with this configuration:
<?xml version="1.0" encoding="UTF-8"?>
<!DOCTYPE plist PUBLIC "-//Apple//DTD PLIST 1.0//EN" "http://www.apple.com/DTDs/PropertyList-1.0.dtd">
<plist version="1.0">
<dict>
  <key>Boot</key>
  <dict>
    <key>Timeout</key>
    <integer>5</integer>
    <key>DefaultVolume</key>
    <string>AC56F8A4-2F72-11EA-821D-001E67866689</string>
  </dict>
  <key>GUI</key>
  <dict>
    <key>TextOnly</key>
    <true/>
    <key>Custom</key>
    <dict>
      <key>Entries</key>
      <array>
        <dict>
          <key>Hidden</key>
          <false/>
          <key>Volume</key>
          <string>AC56F8A4-2F72-11EA-821D-001E67866689</string>
          <key>Disabled</key>
          <false/>
          <key>Type</key>
          <string>Linux</string>
          <key>Title</key>
          <string>FreeBSD (1)</string>
        </dict>
        <dict>
          <key>Hidden</key>
          <false/>
          <key>Volume</key>
          <string>AD3F0021-2F72-11EA-821D-001E67866689</string>
          <key>Disabled</key>
          <false/>
          <key>Type</key>
          <string>Linux</string>
          <key>Title</key>
          <string>FreeBSD (2)</string>
        </dict>
      </array>
    </dict>
  </dict>
</dict>
</plist>
Volume IDs were obtained by pressing F2 on the boot screen and reading the generated log located at efi/clover/misc. I didn’t have plist editor so I made some mistakes when editing the file. That also took quite a while to finally figure out. plist format sure is great.
A few reboot tests later, everything seems to finally work reliably. In the end, it took a bit over 6 hours to figure out and set up everything.
And now I have two spare SSDs. They still work mostly fine so I’ll be using them on less important systems until they finally die.
As a bonus, with SSDs out of the way, all of my hard drives are now running SATA 6 Gbps. I wonder if it’s the reason for the bad performance of the previously SATA 3 Gbps drives.
I don’t know how to thank you for this! I’ve spent hours trying to force clover to boot freebsd12 but was getting “out of resource” message… Figured out my volume id by hitting F2, replaced clover config with yours and swapped volume id for mine…. AND IT WORKED!
I owe you a beer!
Where part boot hitting the f2 ?
Fantastic work! Very thankful I found your article, it’s exactly what I needed to get TrueNAS loading properly with Clover and a NVMe drive.
What Martin said, owe you a beer for sure.
Kind regards,
I third the above, thanks so much friend.
Why is your 3rd string is different from the previous 2? Are they 2 different slices/partitions?
Yes, mirrored drives
So with one drive it should obviously have one string and for some reason it does not work for me – can you show the screenshot of your Clover at boot?
I don’t use this anymore. Also you need to use your own volume id instead of the one in the post.
Or use rEFInd instead.
Well of course I used my own ID and I tried refind too – nothing works unfortunately
Sory, i am newbie, i don’t find where part of boot to find volume id ?
Boot on cpu or clover ?